Learn how to record online classes quickly & easily, the equipment you’ll require, and 3 simple steps to record an online class video at home.
If you want to become a professional online teacher or launch your online business, then you have reached the right place.
Consider this article as a 101 tutorial for you to become an online pro!
Here you are going to learn about everything you need to know about starting your online teaching business.
Stay with us because by the end of this article you are going to feel like a pro!
Table of Contents:
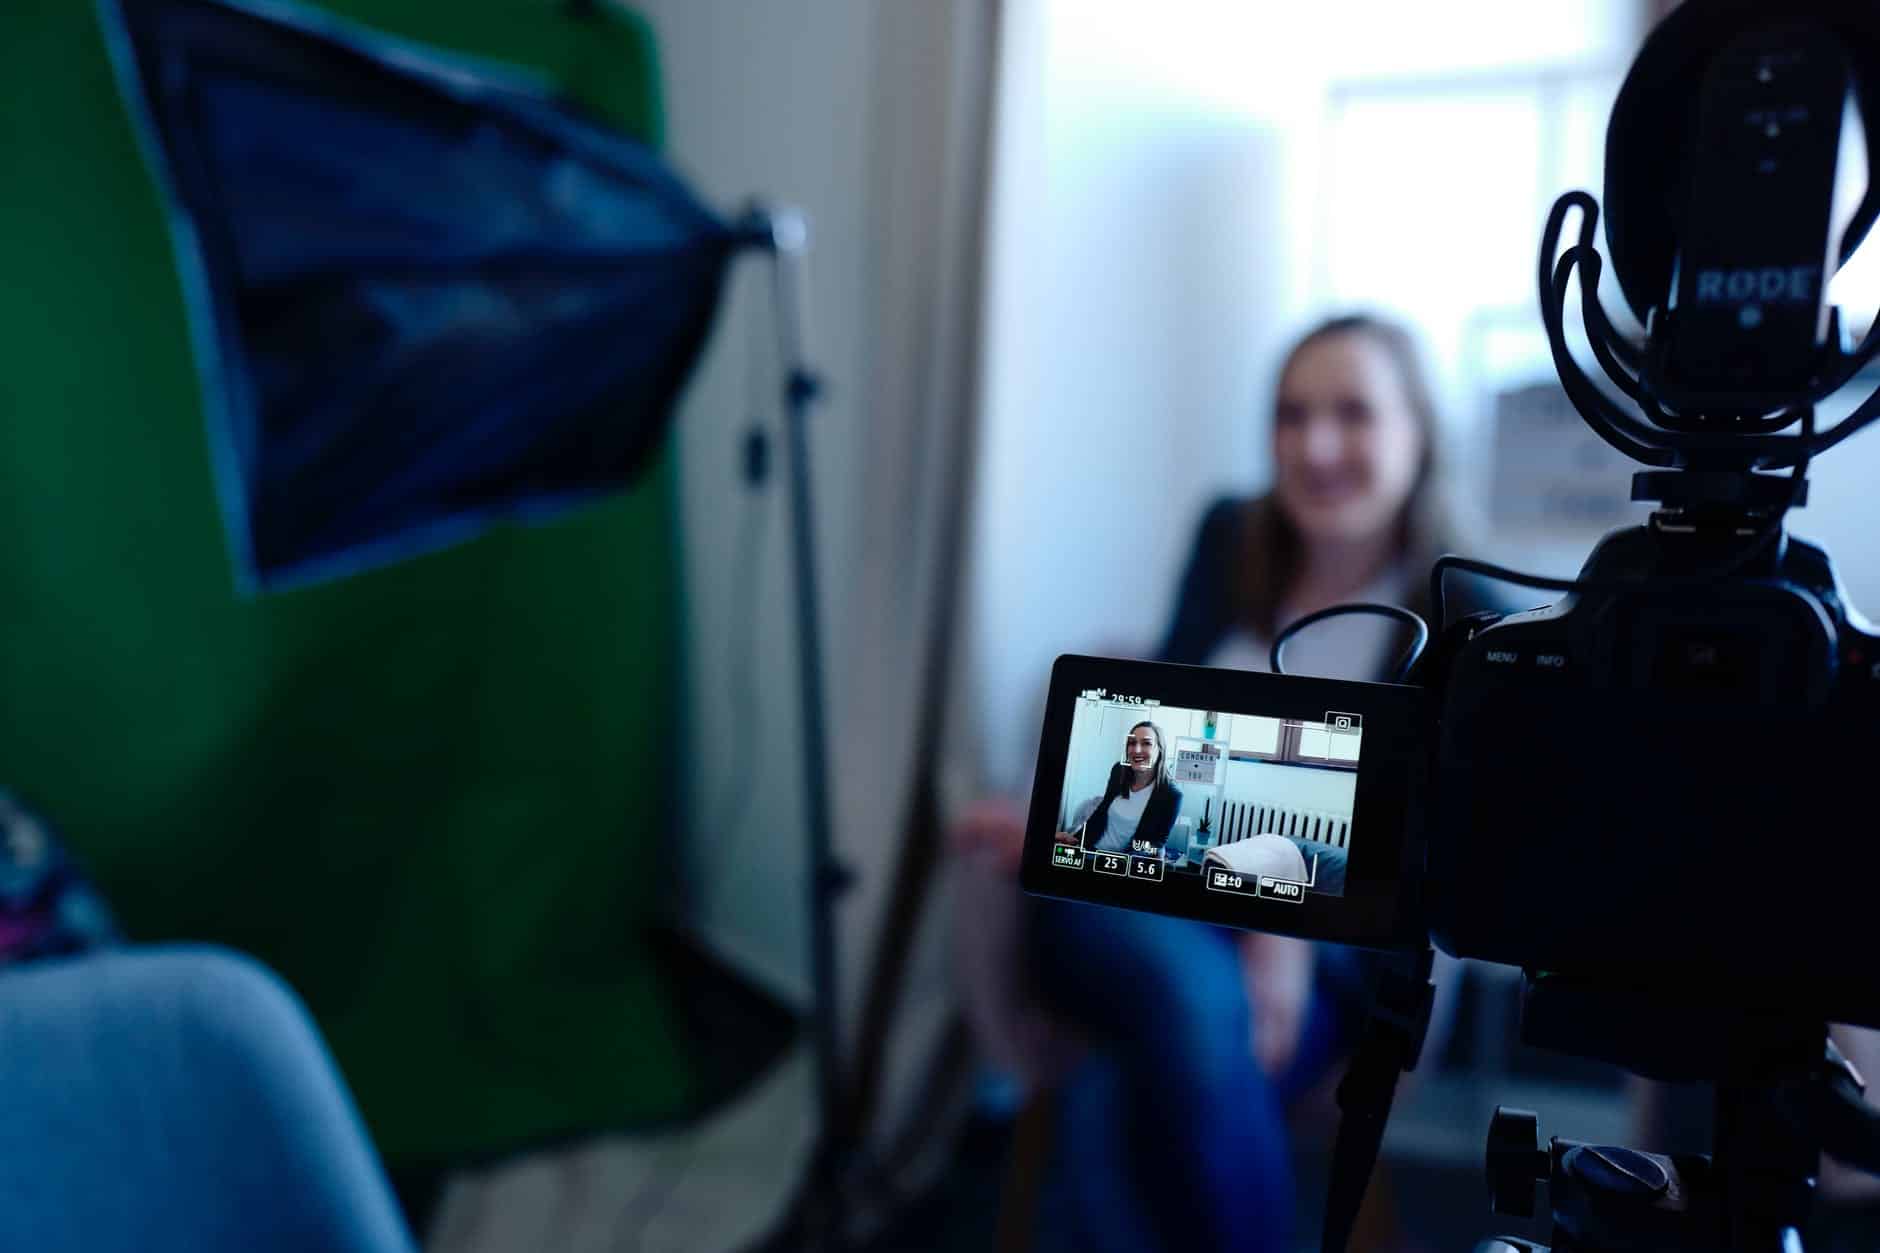
Record Videos For Your Online Class At Home In 3 Simple Steps:
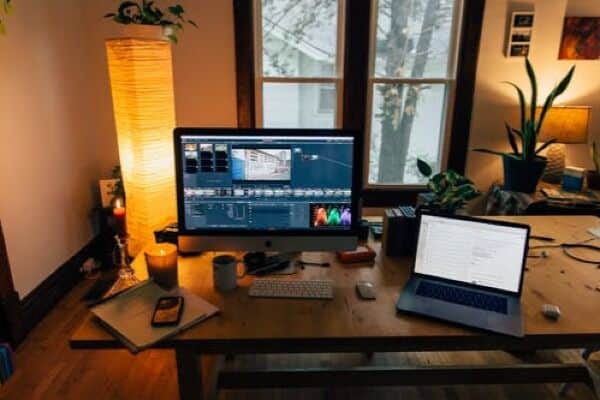
The Hardware & Software You Need To Record Online Classes

To record videos, yes, equipment is needed but the good news is, this equipment doesn’t need to be expensive.
What counts the most in making good professional-looking videos is the technique rather than buying and using expensive cameras for it.
Let’s look and see what kind of camera equipment is there:
1. Webcams For Content Creators
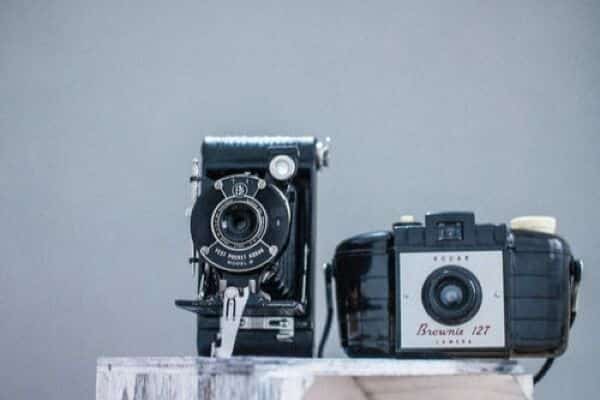
A webcam is a must if you’re creating spectacular videos for online courses.
Following is a list of essentials to look in a webcam:
Resolution
To make an image appear to be the clear, high resolution of 720p to 1080p is recommended.
Field Of View (FOV)
FOV is the maximum area that is captured by the camera so look for a greater FOV.
Built-In Microphone
Look for a monophonic mic.
2. Lighting Setups For Recording Online Videos
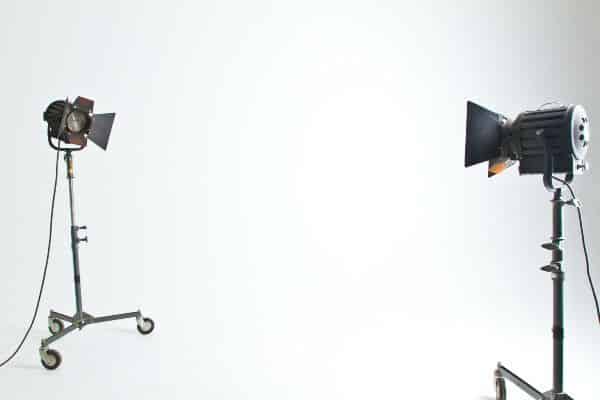
Without proper lighting, a great video can be completely ruined.
It is not about buying tons of lights to fix this problem, but it can be achieved by using techniques.
Let’s look at the most common lighting setups:
Two-Point Setup
This is the simplest set up in which two lights, key light and a fill-light is used.
The key light is the primary illuminator while the fill-light is the complimentary light.
Three-Point Setup
As the name implies this setup has three lights.
Two of these lights are the same as a two-light system; just a third light is added.
The Rim lights give highlights to the rear of the subject.
Four-Point Setup
With the addition of a fourth light, all the others setup is the same as the three-point setup.
The background light, as the name implies it highlights the background.
What To Look For In A Lighting Setup
As already mentioned, it is quite necessary to have a proper lighting setup.
Well, the good news is the lights are pretty affordable to buy.
While the single lights can be bought for only $20, double and triple lights setups can be bought under $100.
A hint! Try searching “studio lighting “on Amazon.
What to look for when buying a light:
The temperature of at least 5,500 K
These lights are measured in watts and kelvin degrees. A 5500 K is suitable for interior shoots
Studio Lights Are Often Too Large
The accessories that come with the lights are barn doors, diffusers and reflectors.
Tabletop Studio Lights
These smaller units are not only easy to manage but are also a lot cheaper than others.
3. External Microphone For Content Creators
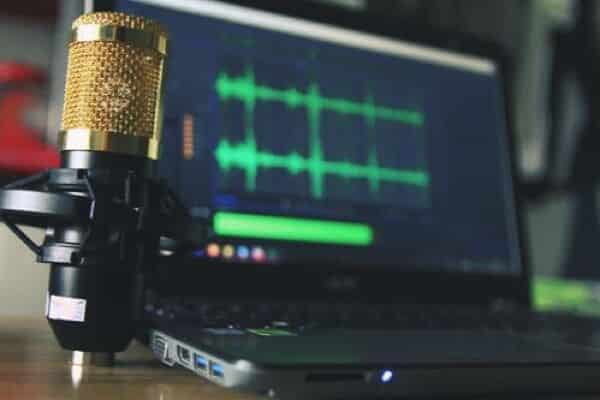
This is the last piece of necessary equipment which is required for video filming.
Out of hundreds of different makes and models of microphones, we are going to look at two frequently used types:
Dynamic Microphones
This is a circular mic which records sound in all of the directions.
This is the most common type as they are usually seen handheld on TV shows.
The only drawback of using this kind of mic is that they must be held in hand all the time.
Condenser Microphones
They do not rely on capacitors as other mics do, this is where they get their name from.
There are two types:
- Lavalier Microphone
They are the tiny portable mics that can be fixed on any clothing like shirt’s collars etc.
They are narrowly focused, so they remove background noise.
- Boom Microphones:
They are also known as shotgun microphones.
4. Editing Online Video
As well as a camera, a microphone, and some lights, you are going to need some software tools too to record and edit videos.
Here are a few of the better free tools available.
Tools For Recording Video:
- Apowersoft’s Free Online Video Recorder
- Ezvid
- FlashBack Express
Tools For Editing Video:
- HitFilm Express
- Lightworks
- OpenShot
How To Set Up Your Room For Video Recording

Educators now launch great videos and make money out of it.
It surely won’t be new for you to know this.
If you are a teacher and want to launch your online videos worry not!
We have got your back.
We are going to tell you about the things through which you can set your small studio setup, in your room.
FIRSTLY, You need a place (at least 10 x 12 sq.feet) in your room for a mini studio set up and remember that you have to place the A.C. on the farthest wall from the spot where you are going to set your microphone & camera.
SECONDLY, you have to set a background.
Know where to place your whiteboards/paper sheets/ green boards or whatever you need.
You can also decide on the colour of your background.
THIRDLY, try to go for the mirrorless DSLR with low light video recording capabilities.
We would advise you to set the camera on the tripod stand at the same or a bit lesser height than the subject.
FOURTHLY, use low lights merely on the subject for the perfect videos and avoid any extra lighting.
If you want to make bright videos, then use three-pointing lights.
For using white or green boards in your videos light up your video with roof lights, but there should be no direct reflection of lights on boards.
FIFTHLY, We recommend you use a professional microphone with your camera.
You can also check your videos by recording them before-hand.
Check the quality, sounds & lighting of your videos before starting your classes.
Now, you should be able to record your trials successfully!
Tips For Recording Professional Videos At Home

By the time you become satisfied with the result of your trial videos, you will be able to make your own professional videos.
You will not need any professional videographer.
You can trust yourself!
Now you are satisfied with the setup so let’s start making your videos.
We have a few steps for you to follow to DIY your videos like a pro-videographer.
- Try to maintain a good rapport and positive connection with your audience at the beginning of your videos.
- Before starting your videos, your content should be organized and in your hands because it makes your content delivery smoother and more effective.
- Trust us, you do not want to represent yourself as a mess in front of your judging audience.
- When you have made your videos, check their recording immediately.
- Do not leave them for later, avoid procrastination.
- You can make your work faster if you will not record your whole videos again, in fact, just re-record those parts of the videos which are needed.
- When you make videos, remember that it is advisable to keep the length of your videos short, 30 to 40 minutes max, to keep your audience engaged and motivated.
- Divide your lengthier videos into two or three parts.
- Again, for your videos and content to deliver, you can add graphics, texting, or animation.
- These video props make things easy to learn, colors and animation always attract your audience towards your writing style.
- Even if you want to take help from an expert in this manner, you should.
- Remember to shoot all the re-shoots & filler-shoots exactly at the same spot where you shot them first.
- Another important trick for not losing your audience’s attention is not to pause or delay in the delivery of your content.
- By the time you reach the end of your videos, make sure to end each of your sessions by clearing the minds and queries of your learners.
- Do not leave them confused, make sure that their minds are satisfied with your answers.
- What you can do to satisfy all the queries of your students, is to ask them to connect with you on social media/educational platforms.
- Try to connect with your audience also for your upcoming/next content.
- This way they will feel enthusiastic & excited for the next session.
These tips are not done yet because you are in a big treat with us today!
We also have some more tips & tricks for you to learn here.
We are determined to make you a pro already!
Well, there are many people who cannot remember the lines or learn the content by heart.
For these people we recommend keeping a journal in their hands; write out what they have to say in the video.
You can also write up a script for you, whatever you want to say.
In fact, you can add pauses, examples or some light jokes to cheer up the mood.
Even if you do not want to write the whole script, you can always go with the jotted points or headings.
Let the content come to your mind naturally in a flow.
Now a few more great tricks to make you look like a pro:
- Be aware of your posture and centre yourself in a frame.
- Always smile for your audience so you can look relaxed.
- Sit up straight, do not slouch or sit back clumsily.
- Remember that to engage everyone and letting them encode your information, do not talk very fastly.
- Keep your pitch natural, not too loud and not too down.
- If you make any mistakes, do not get confused or nervous.
- Do not worry about a few ‘uh’ or ‘ums’ because they look natural in your normal speech.
- Just talk normally as if you are talking to a group of people sitting in your living room, but with a bit of energy.
- If you are videoing for children, take the camera up close so they can see your face; because they like it.
- Now, this is going to be interesting: if you are reading a book, try pausing and turning the book towards the camera in a fashion to show those illustrations to your audience.
- Pause for a few moments at the end of the video, this way it will be helpful for you to edit videos.
- Do not forget to clean your camera lens!
Conclusion
So thats all the you need to know to gear yourself up for recording your online class at home.
We hope you found this article helpful.
Good luck with your band new venture!
You May Also Like
Top 15 Almost Free YouTube Setup Equipment For Your Home Video Studio – DIY Gear Checklist
Top 20 FREE Screen Recorders With Audio For Windows and Mac
Top 5 Benefits of Creating Online Recorded Classes
What Is Vlogging And How Does Vlogging Work?
Passive Income: 6 Steps To Make Money With Online Classes
15 Proven Ways To Be An Effective Online Teacher
How To Start An Online Cooking Class
Amel Zaeem is a part of Weshare’s writing team. She has social media marketing experience for over 3 years and has been writing in-depth guides and articles about marketing and everything in between.
We Also Reviewed
- 45+ Advertising Statistics That Will Blow Your Mind
- 33 CRM Statistics You Should Know
- 41+ Public Speaking Statistics You Should Know
- 35 Machine Learning Statistics You Should Know
- 34 Employee Burnout Statistics You Should Know
- 39+ Communication Statistics You Need To Know
- 37+ Cold Calling Statistics You Need To Know
- 21+ Entrepreneur Statistics You Should Know
- 35+ Contract Management Statistics You Should Know
- 37+ Zoom Statistics You Should Know
- 35+ Sales Training Statistics You Should Know About
- 75+ WordPress Statistics You Need to Know
- 41+ Startup Statistics You Need to Know
- 37+ Presentation Statistics You Need To Know
- 41+ Recruiting Statistics You Need to Know
- 23+ Apple Podcast Statistics You Should Know About
- 31+ Spotify Podcast Statistics You Should Know About
- 35+ Spotify Statistics You Should Know