Discover the top 20 Free Screen Recorders With Audio For Windows and Mac that you can use when recording for your online lessons.
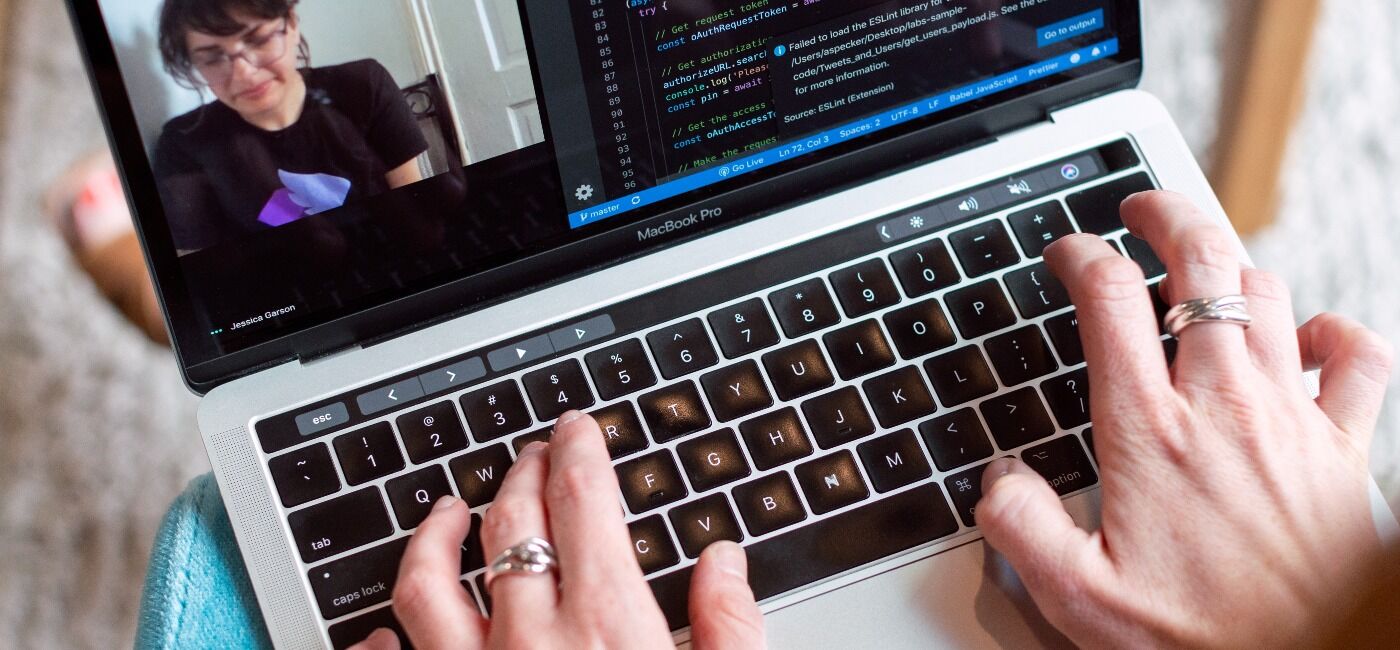
As an online teacher, you’ll find yourself often having to record your screen for your viewers.
This is especially true if you are creating a tutorial.
So, what do you use?
We’ve rounded up a couple of free screen recorders with audio for both windows and mac.
Whether you’re teaching a coding or graphic design course, you can try the following screen recorders.
The ability to record your screen would prove invaluable.
Table of contents:
Top 20 FREE Screen Recorders With Audio for Windows and Mac
Both Windows & Mac:
- OBS
- Loom
- Screenapp.io
- Screencast-O-Matic
- Screencastify
- VidYard (Chrome extension)
- AceThinker
- VLC
- Free Online Screen Recorder (by ScreenCapture.com)
- Monosnap
Windows Only:
- Apowersoft Free Online Screen Recorder
- Icecream Screen Recorder
- ShareX
- Free Screen Recorder (from Softonic)
- TinyTake
- FlashBack Express
- Movavi Free Screen Recorder
- Free Cam
- Screen Recorder Free
Mac Only:
Below are some free screen recorders with audio for windows and Mac users.
1) OBS
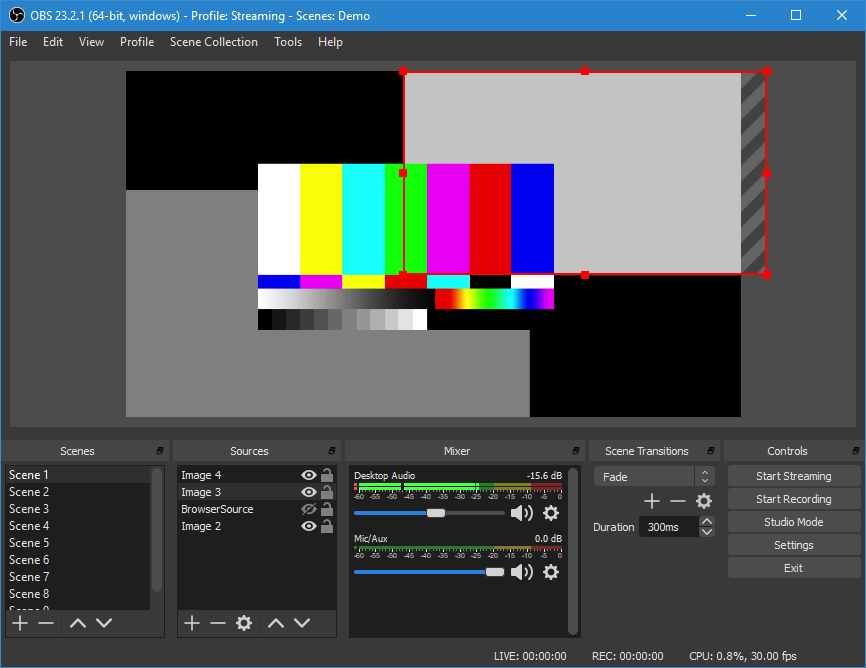
OBS can be used to record from various streaming platforms such as Twitch, YouTube gaming, etc.
Main Features of OBS:
- This screen and audio recorder can help in recording on Windows, Mac, and Linux operating systems.
- OBS also gives an audio-mixer facility along with a per-source filter like noise gate, noise suppression.
- More user-friendly configuration options are available.
Advantages:
- Holds the ability to support HD streaming and capturing
- No limitations on video length
- Exported videos are free from watermarks
Disadvantages:
- Setting up takes more time than usual
- Lacks in advanced editing features unlike other recorders
Pricing: Free
2) Loom

Loom is a video recording tool (also called a screen recorder). It aims to make it easy to get your message across with video, and its main function is to make it easy for you to record videos on your screen.
Loom can be downloaded on Mac, windows desktop or a chrome extension.
Loom also seems to have the longest recording time frame with no limitations. It only pauses with a notification to ask after 2hours if you are recording intentionally. If you are recording intentionally, it will continue recording, but if it isn’t intentional, it’ll automatically stop recording and save the previous record.
Aside from screen recording, below are some other features of LOOM
Screen recording (3 options)
The main feature of Loom is obviously the screen recording feature.
Here you have 3 different options – you can record just your screen, you can record your screen and your webcam at the same time, or you can record only with your webcam.
Additional recording tools
There are some additional recording options.
These are, for example, drawing tools, mouse click emphasis, and custom recording dimensions.
These are some very important features, in my experience and something you will likely need to make your videos as user-friendly as possible.
However, you need to be aware that these features are not available with the standard version of Loom.
Video sharing or downloading
When you sign up for Loom, you get access to a Loom online account where your videos will be saved when you record them.
From here, you can then either choose to share them or to download them.
If you are working in a company and you regularly need to share video recordings, tutorials, or similar to each other, this is a very fast way to do this.
You just simply record the video and then you can share a link.
If you need to share your videos, Loom is a fast way to do this.
The person you share with will then have instant access, which can save you some time compared to other screen recorders where it saves the file on your computer, and then from there, you first have to upload it.
You can also choose to make the link/video publicly available, so it could potentially be found in Google searches.
So whether Loom is a time-saver or will take a bit extra time depends on your needs.
Video editing
Loom allows you to do some basic video editing.
It is, for example, possible to easily trim the beginning of the end of your recording.
This can be very useful.
So it is only to quickly trim your video. If you need more editing done, you need to use another tool.
The rest of the editing functions is more for social interaction if you share your videos publicly.
You can then insert a custom thumbnail that will show before the video starts to make it look more appealing, and you can add a call-to-action button.
Pros:
- Easy to use
- Great for video sharing
- The free version gives good options as well
Cons:
- Depending on your needs, there are options with better value for money
Honestly, I do not think there are many bad things to say about Loom.
Pricing: Free
3) ScreenApp.IO
ScreenApp.IO is researched to be the simplest and the fastest way to capture your screen on Windows and Linux (Ubuntu). No downloads or extensions are required. You can record, edit and share your screen on the web instantly.
A: Quick Record
ScreenApp.IO allows you to start your recording with a single click! No more signups, no more downloads or no more extensions required. Simply visit [(https://screenapp.io/#/)] using Chrome or Firefox and click start recording. The Screenapp is also compatible with Windows/Mac and Ubuntu.
B: Custom Record
On the ScreenApp.IO, there are three options for you to select and record your screen according to your preference.
I – Record Your Entire Screen
II – Record an Application Window
III – Record a Browser Tab
C: Edit Your Video Before Download
With the ScreenApp.IO, you can preview your recorded video and trim it before downloading it. This will allow you to delete the unwanted sections of your video rather than recording all over again for a small mistake you made.
D: Instant Download
You can download your recording instantly. Even an hour-long video could be downloaded within seconds.
4) Screencast-O-Matic

Video creation for everyone! Screencast-O-Matic offers intuitive and affordable video creation tools. With an easy-to-use screen recorder and video editor, Screencast-O-Matic makes it possible for anyone to create amazing videos.
Within minutes, you can easily record your screen or webcam, import your own videos and mix clips. Enhance your video with Screencast-O-Matic’s intuitive video editor. Add text, shapes, and images, import music and use auto-captions. Create fun animations and fluid transitions to engage your audience!
For Windows, Chromebook, Mac, and now on iPhone and iPad.
The greatest thing about Screencast-O-Matic is it gives you the option of downloading your captured video or hosting it on their site. One could do both depending on his needs.
Pricing: Free
5) Screencastify
Screencastify is a Chrome browser extension that records your screen, face, voice, and more. To use Screencastify, find its icon in the Chrome toolbar and choose among the recording options:
- Record a single tab in your web browser
- Capture all screen activity
- Use your webcam to record or insert a video of yourself.
While recording, use the tools to write, draw, erase, keep time, restart, or spotlight a section on the screen. There’s also an option to play the audio in a tab you’re recording, but the sound can be hollow and difficult to hear.
Save completed videos locally in your Screencastify account or in Google Drive, or upload them to YouTube (with more customizable options available in the settings menu). The free version allows up to five minutes per video, and users will need to rely on other video editing tools if they want to make post-recording changes for free.
The premium version has unlimited logo-free recording and includes video editing tools, such as cropping, trimming, splitting, and merging, with the developer promising more in the future. Premium subscribers can also use any web browser to edit videos on their drive, not just those recorded in the extension.
If you have access to Chrome, Screencastify is an easy instructional tool that lets teachers and students communicate in new and creative ways.
Screencastify can also be used to facilitate virtual faculty meetings, sharing professional development, or providing training for new employees. For educators who need even more ideas, the wide variety of support options available will help them brainstorm the best uses for Screencastify in and out of school.
Pros: This simple browser extension is easy to use and versatile, and puts a new spin on traditional presentations.
Cons: Only works with Chrome devices and browsers, requires careful content planning to keep audiences interested.
Pricing: Free
6) VidYard (Chrome extension)

Vidyard is the fastest way to create and share videos. Record your screen, webcam, or both for engaging client presentations, customer onboarding, team updates, and more.
Pricing: Free
7) Ace Thinker
AceThinker is a simple to use, high-quality screen recording software you can trust.
Acethinker is a good and easy-to-use online free screen recorder for Windows, Mac, iPhone, and iPad. Its user interface is relatively simple. It allows you to shoot full HD video (1080p) with webcam, audio, and system sound as long as you like. The recorded video will not have a watermark. There are real-time drawing tools for annotating the screen while recording. But they are too simple. There are only a few types to use, such as rectangle, circle, arrow and a brush.
Another advantage of this software is the ability to edit videos before saving or upload it to YouTube. It also provides simple editing features like trim, crop, adjusts brightness, saturation, video speed, adjusts audio, inserts subtitle and convert video.
AceThinker offers many options for you to choose such as: Save the recorded video in MP4 format, AVI, WMV, MKV, MOV, FLV, MPEG, VOB, and ASF; Create GIF file; Edit video; Upload to YouTube; Upload to Vimeo; Upload to Dropbox; Upload to Google Drive. Of course, you will need to log in to your account if you want to share your video directly online.

The list of output formats when you choose Edit video option in AceThinker can make you overwhelmed. Take a look at the screenshot of various output formats in AceThinker. As you can see, all popular output formats are here.
However, to compare with other professional screen recorders like ActivePresenter or Camtasia, it needs to be improved a lot in the future.
Pricing: Free
8) VLC

VLC, Video capture software can be used to record webcasts and capture content from your computer’s desktop. VideoLAN’s VLC Player is lauded for the wide range of media formats that it supports, but the player also features a recorder. Take advantage of VLC Media Player’s video capture feature and record live media from your computer’s desktop.
Step by Step Ways of Using VLC Screen Recorder
– Click on VLC’s “Media” heading. Select the “Open Capture Device” option from the context menu that appears beneath the heading.
– Click on the “Capture Mode” menu box in the menu that appears and select a video source. Select the “Desktop” option to record the action on your computer’s desktop. Select the “TV (Digital)” option to capture input from a TV tuner card.
– Click on either of the arrow buttons outside of the “Desired Frame Rate for the Capture” field to raise or lower the rate at which VLC will capture video frames.
– Click on the “Play” button’s arrow and select the “Convert” option from the context menu that appears.
– Click on the Convert menu’s “Browse” button to select an output folder for your captured content and to give it a name. By default, the output video is stored in an MP4 format. Click on the “Profile” menu box if you wish to select a different type of video format.
– Click on the Convert menu’s “Start” button to begin capturing your content. You’ll be taken back to VLC’s main menu. If you’re capturing content from a TV tuner card, you need to set up your card’s programming beforehand.
– Click on VLC’s “Stop” button when you want to end your capture.
– Open the folder that contains your video capture. Right-click on the video file and select the “Rename” option from the context menu that appears. Erase the .ps extension from your file’s name and replace it with the appropriate extension. For example, add “.mp4” to the end of the file’s name if you choose to store your capture in the MP4 format.
– Double-click on your file to review it.
Pricing: Free
9) Free Online Screen Recorder (by ScreenCapture.com)
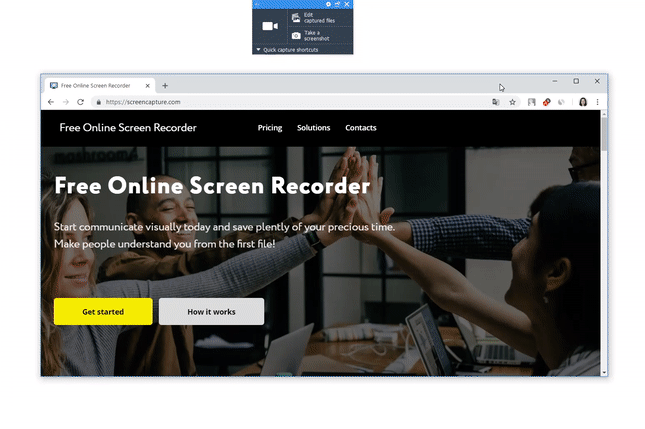
Sometimes it is better to send a video than a screenshot. For this case, use their screen recorder with audio. Capture video with system sound or add your voice comments with mic.
Pricing: Free
10) Monosnap
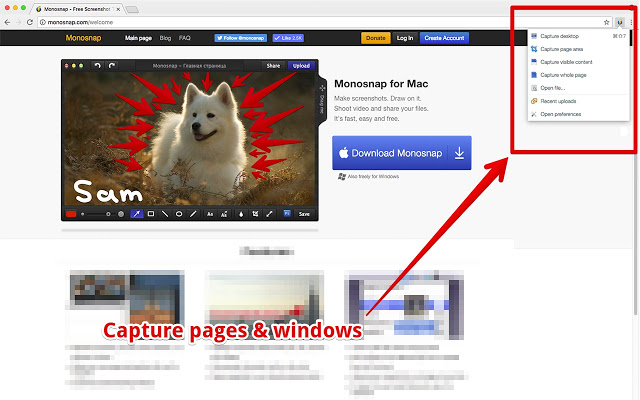
Monosnap service is more than just a screenshot and video tool, cloud storage, or secure content management – it’s a simplified workflow of your team.
Pricing: Free
11) Apowersoft Free Online Store
Apowersoft Free Online Screen Recorder is completely free to use, with no time limitations, paywalls or watermarks. However, although it runs in your web browser, you’ll still need to download and install a small launcher application before you can use it. Click ‘Start recording’ and follow the instructions (it works for both Windows and macOS).
You’ll be presented with a recording toolbar, and the center of your screen will be selected by default. Use the drop-down menu to choose the part of your screen to be recorded (the full screen, a custom area, or space the same dimensions as a mobile device).
The cog-shaped Settings button offers an impressive array of options. You can customize keyboard shortcuts, the output directory for your videos, cursor highlighting, frame rates and much more. Few desktop screen recorders offer so many customization options, let alone web-based tools.
When you’re ready to record, just click the red button and wait for the countdown. You can choose to capture footage from your screen or a webcam, with audio from your soundcard, or a microphone.
You can annotate the screen while you’re recording – ideal for software tutorials and walkthroughs – and the finished file can be uploaded to Vimeo, YouTube, Dropbox or Google Drive. You can also save it to your PC or Mac as a video or GIF file, or launch Apowersoft’s video editing application to edit it
Apowersoft produces two-screen recorders. The first, which we’re reviewing here, is a web-based tool that runs in your browser. At the same time, the other (accessed on the same site by clicking ‘Download desktop version’) is a premium application that’s only available as a limited free trial unless you buy a subscription.
Apowersoft has feature-packed screen recorder with no time limits or unsightly watermarks, made all the more exceptional by the fact that it runs in your web browser.
Pricing: Free
12) Icecream Screen Recorder
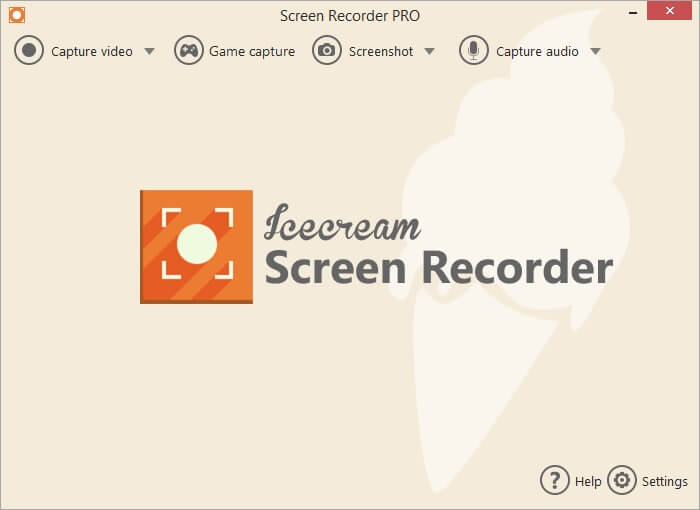
Icecream Screen Recorder is an easy-to-use free screen recording software that enables you to record any area of your screen or save it as a screenshot. Record apps and games, video tutorials, webinars, live streams, Skype calls and much more in a hassle-free way. You can record the screen along with audio and webcam.
Icecream Scream Recorder also has some amazing features:
- You can select the area to record
- You can record audio
- The video quality could be adjusted
- Record with webcam
- Annotate, to add text, arrows, and shapes after recording
- Easily record games
- Share after record
- You can easily insert your logo
- Zooming in areas to be recorded
- After recording, easy to trim
- Absolutely, there are the recording settings
- Audio settings
- With a screen recorder, you can convert the format of the recorded video
- Display of hotkeys used to record video
- Scheduled Screen Recording
- Record GIF
- After the record, you can copy to clipboard.
Pricing: Free
13) ShareX

ShareX offers a range of screen capture options: full screen, window, region, scrolling capture, and more. You can choose whether or not to include the cursor in screenshots, set up a timer to delay capture, and even perform OCR on text. You can also record onscreen activity as a video or animated GIF.
But where ShareX really comes into its own, and where it gets its name from is in the sharing options available. Screen captures, and recordings can be uploaded to a range of cloud services, including image hosting and general online storage, and even social media. There’s a lot on offer in with ShareX, including a pretty impressive image editor to tweak your screengrabs before you use them.
Taking a screenshot in Windows can be as simple as hitting the Prt Scr key and pasting the contents of your clipboard into an image editor. But there will be occasions when you want to do something a little more involved – such as capturing just a portion of your screen or sharing your captures to the web – and this is when a third-party screen recorder comes in handy.
The program is cramped and far from attractive, so you would much better off spending a little time configuring and learning keyboard shortcuts. There will be times when it is impossible to avoid using the main interface. Still, ShareX is best experienced when it blends into the background, and you don’t really have to think about it.
Pricing: Free
Wrapping Up
with the above idea of free screen recorders with audio, you can comfortably say goodbye to expensive tools.
The good news is that you will not need compromise the quality of your work.
These free options are recommended by numerous online teachers just like.
Are you interested in other tips for improving your online teaching?
Find online teacher guides here and learn skills that will push your online business to the next level.
Maureen Kasyoka is the editor of Weshare’s blog. She has gained excellent research and writing skills through the years, writing on ranging of topics from social media to marketing in more than 5 years.
We Also Reviewed
- 45+ Advertising Statistics That Will Blow Your Mind
- 33 CRM Statistics You Should Know
- 41+ Public Speaking Statistics You Should Know
- 35 Machine Learning Statistics You Should Know
- 34 Employee Burnout Statistics You Should Know
- 39+ Communication Statistics You Need To Know
- 37+ Cold Calling Statistics You Need To Know
- 21+ Entrepreneur Statistics You Should Know
- 35+ Contract Management Statistics You Should Know
- 37+ Zoom Statistics You Should Know
- 35+ Sales Training Statistics You Should Know About
- 75+ WordPress Statistics You Need to Know
- 41+ Startup Statistics You Need to Know
- 37+ Presentation Statistics You Need To Know
- 41+ Recruiting Statistics You Need to Know
- 23+ Apple Podcast Statistics You Should Know About
- 31+ Spotify Podcast Statistics You Should Know About
- 35+ Spotify Statistics You Should Know