
Learn how to change your microphone settings on Windows, MacOS, and Android. Discover some cool tricks related to microphone.
Do you ever have trouble hearing people on your calls? Or maybe you can’t seem to get the audio levels just right? It might be time to change your microphone settings. In this blog post, we will show you how to adjust your microphone settings on Windows, macOS, and Android. We’ll also teach you a few tricks to help improve your call quality. Keep reading for more information!
You can’t have a functioning speech-to-text function without an operating mic. A grave error will occur if you don’t check your settings and make sure that the sensitivity or noise suppression on any given model of the microphone is correct for its intended use with software like Microsoft Word, Skype, etc.
First and foremost, it is a simple check to see if your microphone is even turned on. Secondly, for laptops that have two microphones built-in, you will want to make sure the correct one is being used. The mic located near the webcam is usually meant for video chatting and the other one picks up sound from further away.
What Is Microphone Sensitivity And Why Change It?
The sensitivity of a microphone measures how much sound pressure level (SPL) is required before the mic produces an output signal. The SPL is the ratio of the absolute sound pressure to a reference value. It’s usually expressed in decibels (dB).
We all know that mic sensitivity affects the way we amplified sound. If you have too high of input, it will take very soft sounds like your breath or computer’s hum and amplify them in our audio output – this is called ‘over-amplifying’. It also highlights louder noises more than low volume speech (called “peaking”).
You might want to change your microphone’s sensitivity for a number of reasons:
*To reduce background noise
*To increase the loudness of your voice
*To improve call quality
*To troubleshoot audio issues
How To Adjust Microphone Setting On Android
Adjusting microphone setting on your Android phone is simple and can be done by following the simple steps mentioned below:
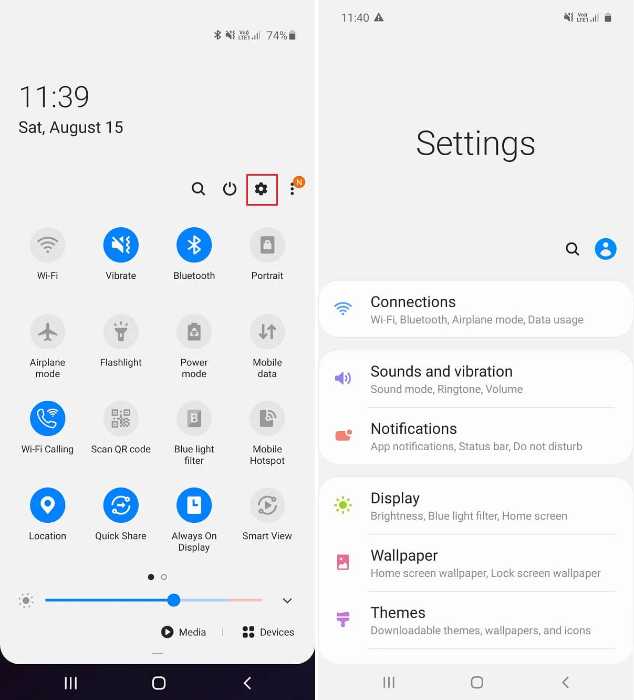
Step # 1: Open Settings
On Android, you can adjust your microphone settings by going to Settings Apps.
Step # 2: Now Go to the Menu
In the settings app click Menu which is in the form of three lines in the top left corner.
Step # 3: Click the Advanced Settings
Once in the menu, scroll down and select “Advanced.”
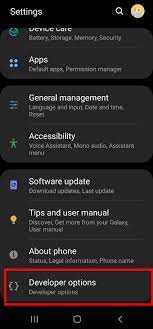
Step # 4: Go to the Developer Option
Under Advanced, go to “Developer options.” If you don’t see Developer options listed, then you’ll need to enable it by scrolling down until you find “About Phone” and tapping on it seven times.
Step # 5: Select Microphone Input
Once in Developer options, scroll down until you see “Microphone.” Tap on it to open the menu and then select your desired microphone input. By default, “Dual audio mode” is selected. This allows both microphones to be used simultaneously for a better quality call. However, if you’re having issues with one of the microphones, you can try switching to “Mono audio mode” which will use only one microphone.
Adjusting Android Microphone Sensitivity
The virtual assistant that comes with Samsung phones or other Android phones can’t adjust mic sensitivity or noise suppression, but you still have options. There’s an app for it!
The best way to make sure your audio sounds great is with an app. There are so many microphone apps available, and some even connect via Bluetooth or USB cable so you can use them on external microphones too!
Follow the following steps to set the sensitivity of your microphone using an app:
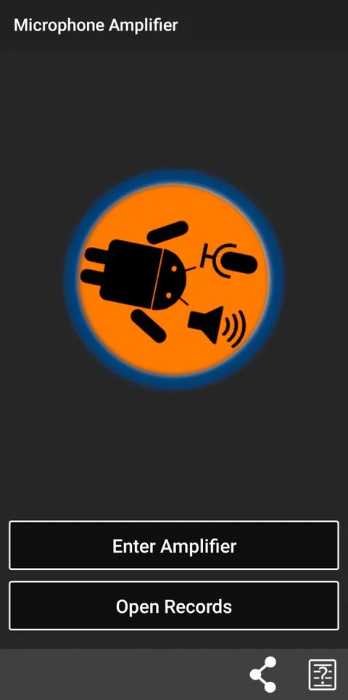
Step # 1: Download the App
First of all, Download the Microphone Amplifier.
Step # 2: Give Access
Once the app is installed, open it and give the app permission to access your microphone.
Step # 3: Calibrate Your Microphone
The first time you use the app, you’ll be asked to calibrate your microphone. This step is important because it allows the app to adjust for any background noise in your environment. To calibrate, just follow the instructions on the screen.
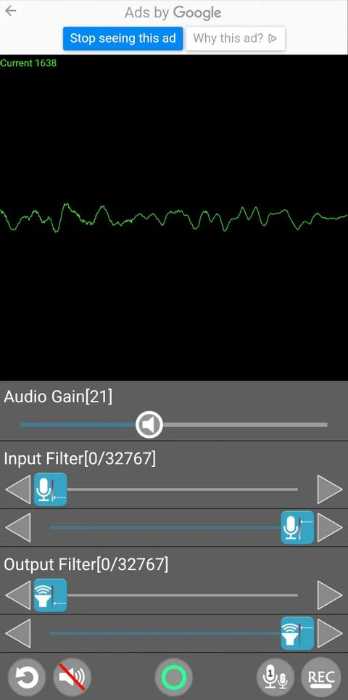
Step # 4: Adjust the Gain
Set the gain. After calibrating, you’ll be able to adjust the gain (sensitivity) of your microphone. The higher the gain, the more sensitive your microphone will be. You can also enable or disable noise suppression from here.
We hope this guide was helpful in adjusting your microphone sensitivity.
How To Adjust Microphone Setting On MacOS?
The sound input and output ports on a MacBook can be found in different places, depending upon your model. For some models there will be just one port for both audio inputs with either a microphone icon or headphones designations; other times you’ll find them separately labeled as “Input” (with no partying)and “Output” respectively- these show that the device supports stereo output but also offers mono capabilities through built-in mic depending upon what kind of headset is being used at time.
In order to adjust the microphone setting on macOS you just have to follow the simplest yet easiest guidelines given below:
Step # l: Open System Preferences
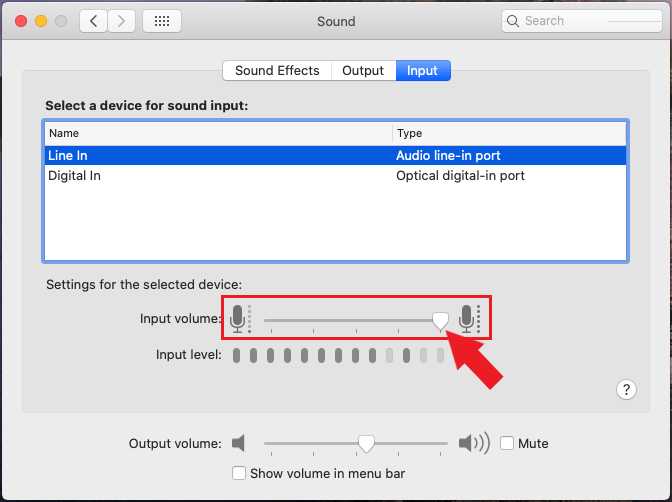
To adjust your microphone settings on a Mac, open System Preferences by clicking on the Apple logo in the top left corner of your screen and selecting “System Preferences.”
Step # 2: Select Sound
From the System Preferences window, select “Sound.”
Step # 3: Click on Input
In the sound window, you’ll see a list of all the input devices currently connected to your computer. To adjust the microphone settings for a specific device, click on the input device’s name.
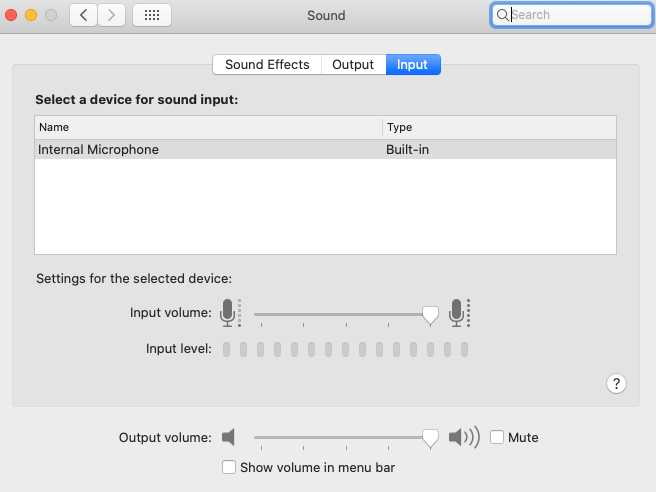
Step # 4: Select “Input Devices” from the View Menu
If you don’t see the input device’s name listed, select “Input Devices” from the View menu.
Step # 5: Adjust the Microphone Settings
Once you’ve selected an input device, you can adjust its volume and other settings by clicking on the “Input” tab at the top of the window. From here, you can also select the “Enhancements” tab to adjust settings like noise suppression and equalization.
We hope this guide was helpful in adjusting your microphone settings on macOS.
How To Adjust Microphone Settings On Windows?
In order to adjust the microphone setting on windows, you just have to follow guidelines as given below:
Step # 1: Open the Control Panel
To adjust your microphone settings on Windows, open the Control Panel by clicking on the Start menu and selecting “Control Panel.”
Step # 2: Select Hardware and Sound
In the Control Panel window, select “Hardware and Sound.”
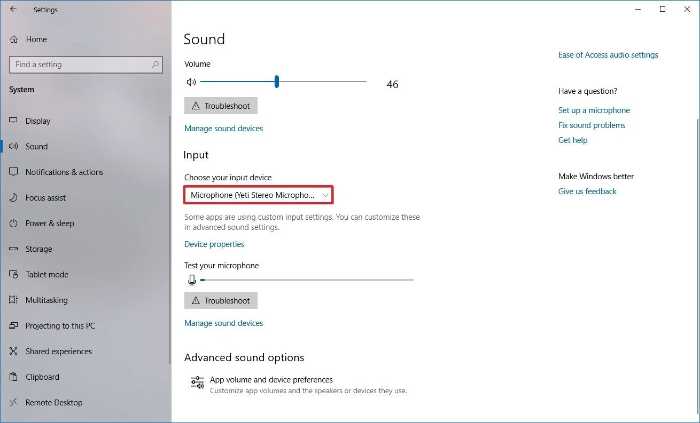
Step # 3: Click on Recording Devices
In the Hardware and Sound window, you’ll see a list of all the input devices currently connected to your computer. To adjust the microphone settings for a specific device, click on the “Recording” tab at the top of the window.
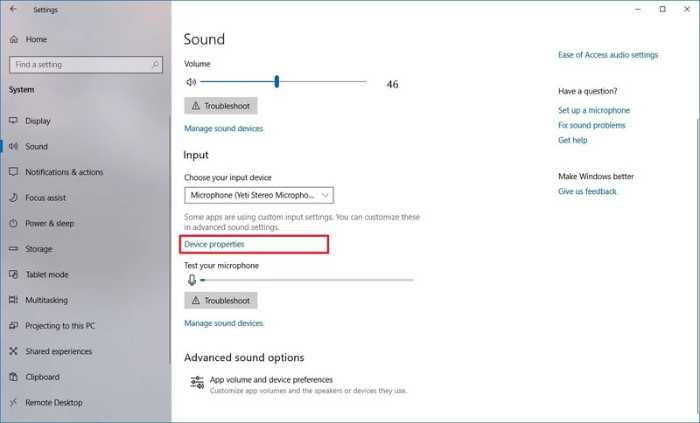
Step # 4: Adjust the Microphone Settings
Once you’ve selected an input device, you can adjust its volume and other settings by clicking on the “Properties” button. From here, you can also select the “Enhancements” tab to adjust settings like noise suppression and equalization.
We hope this guide was helpful in adjusting your microphone settings on Windows. Thanks for reading!
How To Adjust Microphone Setting On iPhone
If you want to change the microphone setting on your iPhone, you can follow the steps below:
Step # 1: Go to the settings.
First of all, go to “Settings” on your iPhone.
Step # 2: Select the Accessibility option
Then, select “Accessibility” option .
Step # 3: Toggle the switch next to Microphone
You’ll see a toggle switch next to “Microphone” – make sure it’s turned on. If it’s not, turn it on and allow the app permission to access your microphone.
Step # 4: Select the Dictation option
Under the “Dictation” heading, you’ll see an option to enable or disable the feature.
Step # 5: Enable Dictation
If it’s not already enabled, tap the switch to turn it on.
This was all about changing your microphone setting on your iPhone. We hope this guide was helpful and you have enjoyed reading it Thanks for reading!
How To Enjoy Clear Audio Recording?
When you have a mic set up properly, it will be easy for others to understand what you’re saying on voice calls. Your speech-to-text software won’t make as many errors and the quality of recordings is much more clear than before with this stock external microphone! If done right there’s no need whatsoever in purchasing an additional high-end device when most mics meet all necessities needed by almost anyone who wants some kind of recording capability.
You can get away with a basic mic for voice calls, but it’ll be easy to misunderstand what you’re saying when your words don’t match up. The software might also make more mistakes and the recording quality is far from perfect! Don’t waste time by purchasing an expensive high-end device when most mics meet all needs of anyone who wants something less than perfection. You can set the built-in microphones as well to get the best results.
Conclusion
That’s all about microphone settings on Android, iPhone, macOS, and, windows. We hope this guide was helpful in adjusting your microphone settings. if you have any queries feel free to ask in the comment section below. Hope you enjoyed reading it!
Eisha Gul is a part of Weshare’s writing team. She has social media marketing experience for over 4 years and has been writing in-depth guides and articles about the industry ever since.
We Also Reviewed
- 23+ Apple Podcast Statistics You Should Know About
- 31+ Spotify Podcast Statistics You Should Know About
- 35+ Spotify Statistics You Should Know
- 45+ Advertising Statistics That Will Blow Your Mind
- 33 CRM Statistics You Should Know
- 41+ Public Speaking Statistics You Should Know
- 35 Machine Learning Statistics You Should Know
- 34 Employee Burnout Statistics You Should Know
- 39+ Communication Statistics You Need To Know
- 37+ Cold Calling Statistics You Need To Know
- 21+ Entrepreneur Statistics You Should Know
- 35+ Contract Management Statistics You Should Know
- 37+ Zoom Statistics You Should Know
- 35+ Sales Training Statistics You Should Know About
- 75+ WordPress Statistics You Need to Know
- 41+ Startup Statistics You Need to Know
- 37+ Presentation Statistics You Need To Know
- 41+ Recruiting Statistics You Need to Know